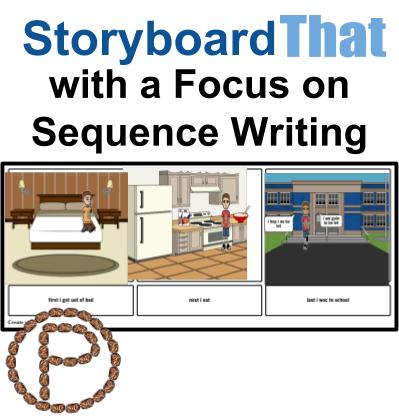
Storyboard That has been the PERFECT creating tool to support the type of writing my kindergartners are currently focusing on. Basically, the web tool allows kids to click and drag scenes, characters, props, and more onto a storyboard. The kids can customize their characters to resemble themselves or however they’d like! Storyboard That can be used to create graphic organizers, recreate a scene in history, demonstrate a science experiment, put a visual to vocabulary, whatever you can come up with! Recently, my kids have been working on sequence writing and including transition words at the beginning of sentences. One day we discussed some essential steps in the “getting ready for school” process and their assignment was to create a storyboard of how they get ready for school. After they finished, they put their storyboards into a collaborative slides. Here they are!
First Time – Explore and Explain!
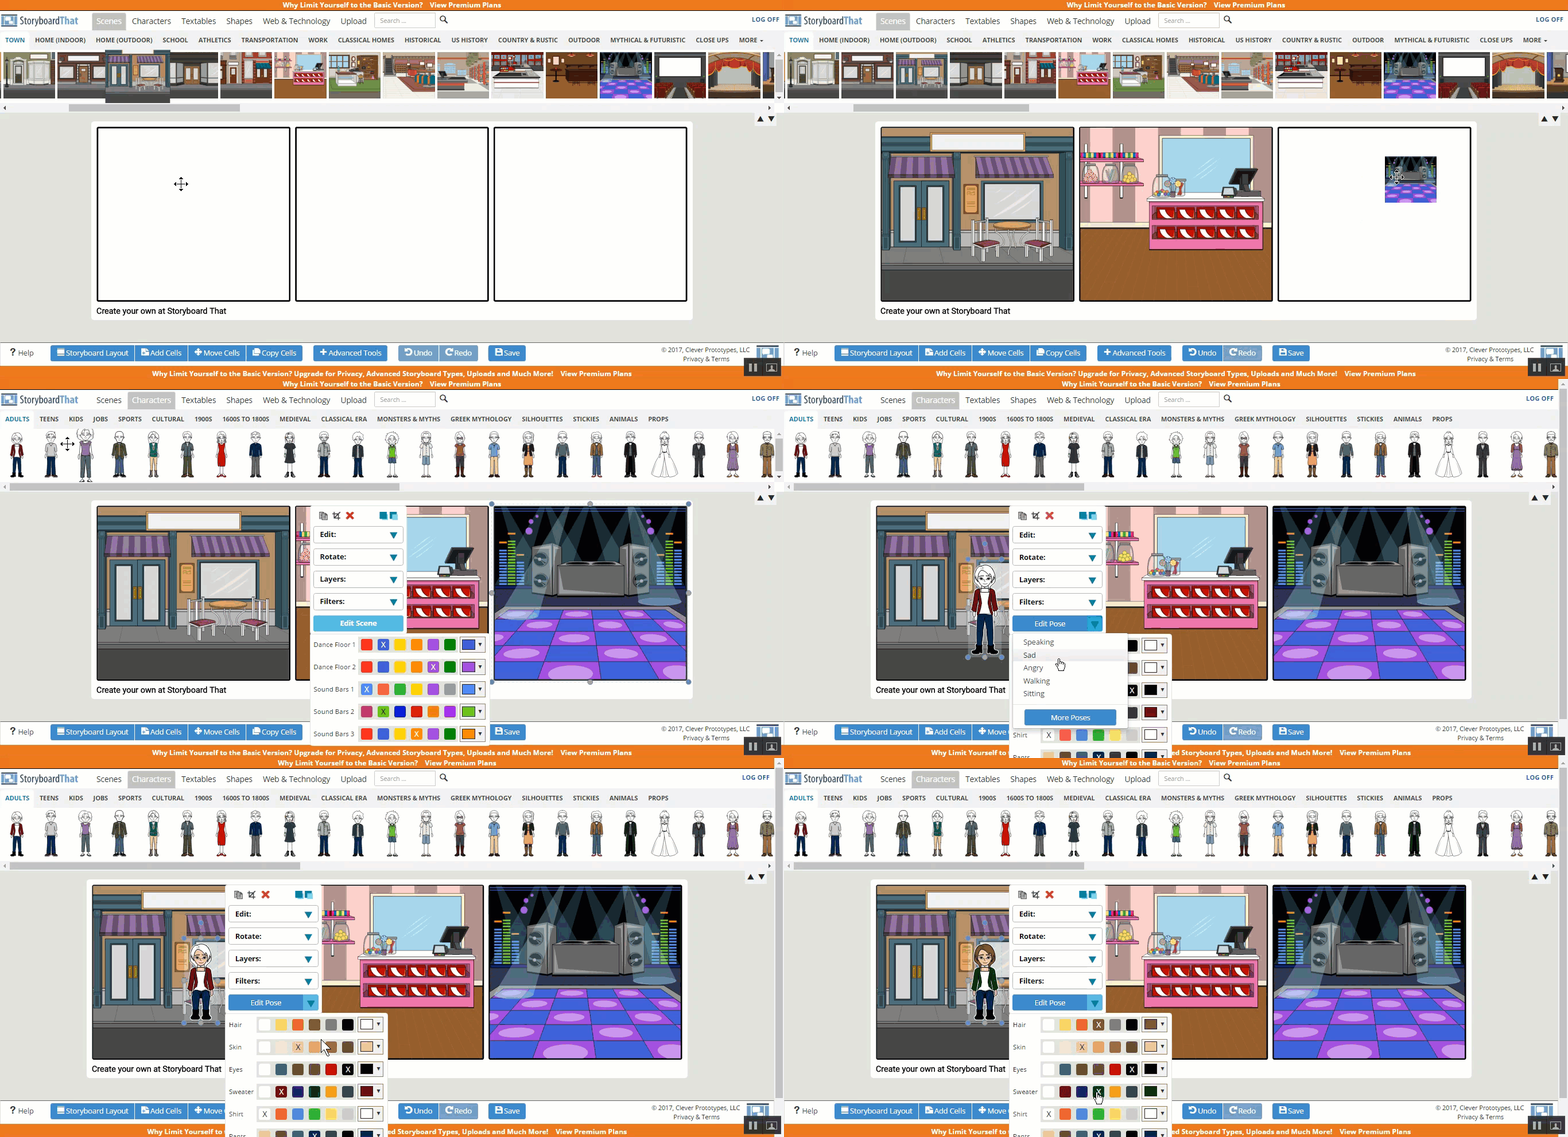
The first time you have your kids try out Storyboard That, let them explore and explain their storyboards! There are SO MANY options and ways to customize just about everything, that the kids just need time to click around and figure things out. Before releasing them, I showed the kids the basics of dragging items onto the storyboard and how a menu appears when you click on an objects so you can “change it up how you like.” They discovered more than I knew about Storyboard That, like a weather option and that scenes can be customized.
Second Time – Focus on a Prompt
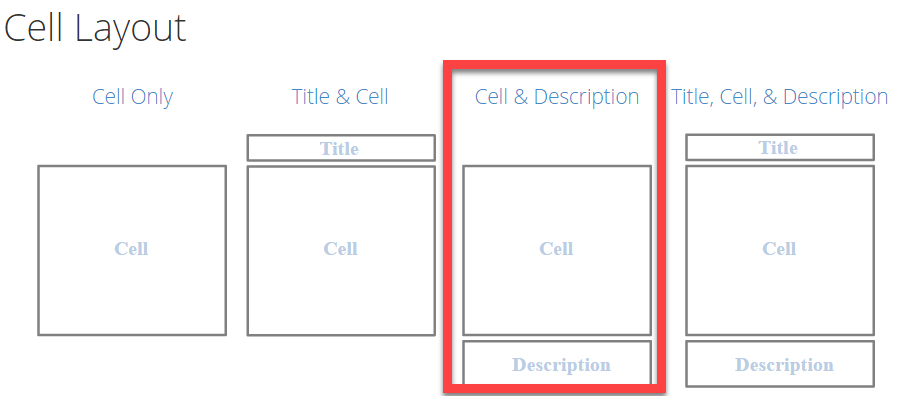
Since the kids got that “must click on everything” jitter out of the way the first time, they were ready to focus on a prompt the second time around. The kids were to create a storyboard about three steps in their getting-ready-for-school process. They needed to select the storyboard layout that has a space for them to type their descriptions (their sentence about each picture). After the kids created their storyboards, they hand wrote their sentences, and did their best to type them up.
Getting the Storyboards on Slides
In Google Classroom I assigned the kids a collaborative slides template that had a text place holder to type their names and class numbers. After the kids save their storyboards, the kids have two options for getting their storyboards onto the Slides:
- Grab and Drag – The kids can click on hold onto the image, and drag it to the open Google Slides tab and drop it on their slide. It fits perfectly on the slide!
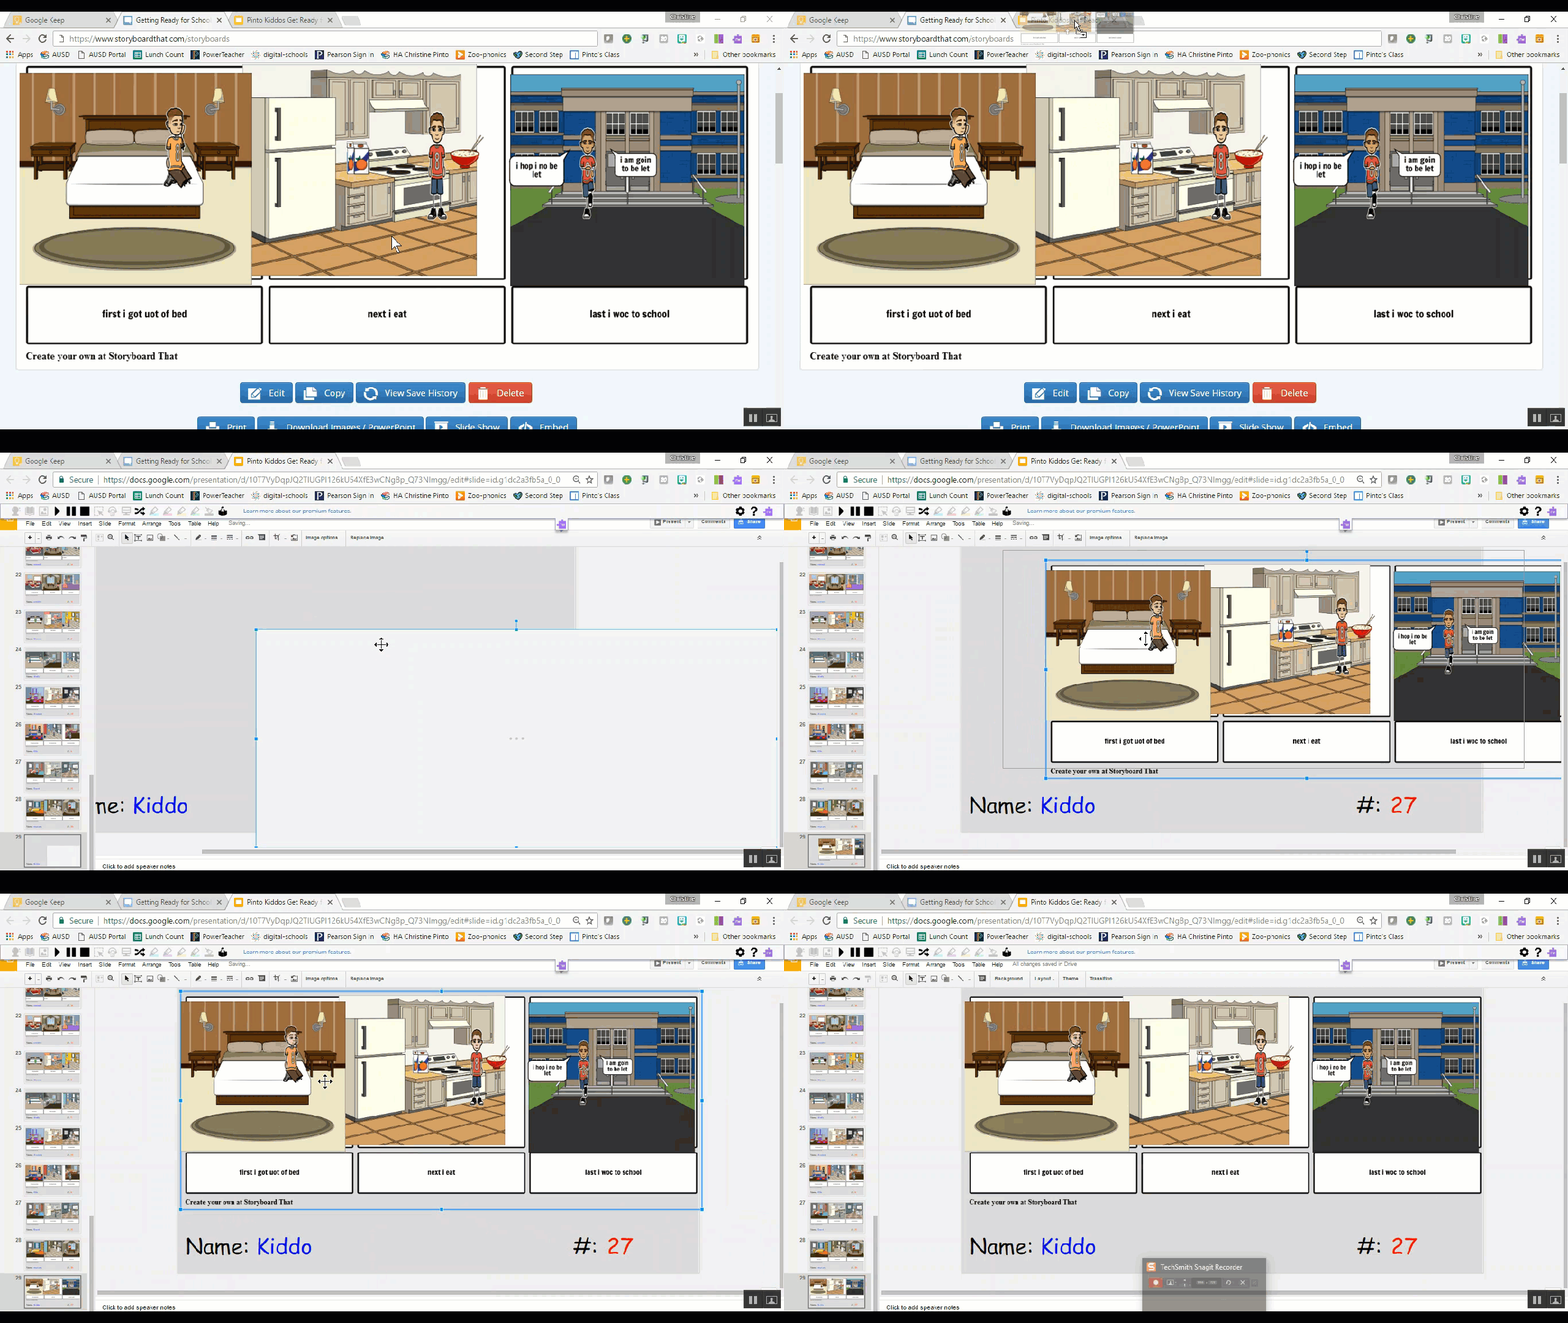
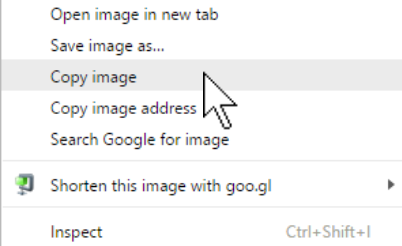
- Right Click and Copy Image – The kids can right click on their saved storyboards and paste them onto their Slides. Right click can sometimes be tricky, if your students have Chromebooks. I learned that they can use the shortcut ALT and a single click to pull up the menu and select “Copy image.” Then they go back to the collaborative slides and paste (CTRL V) the storyboard onto their slide.
Why Collaborative Google Slides?
When the kids brought their storyboards to Google Slides, they had a chance to go through and see what their peers’ creations. Having them in Google Slides makes it easier to display on the board to have the kids come up and share about them. I also clicked on the blue Share button to pass the shared link to parents so they could see the kids work.

Background Info for Storyboard That
- If you haven’t already, check out the Storyboard That website. Create a free account and do some exploring!
- There are multiple ways to sign up for a free Storyboard That account. Since my kids have Google accounts, they were able to sign in with Google (awesome sauce).

- Management – I will say the initial set up is a lot of clicking and steps, but my kids handled it like champs. The kids brought their devices to the carpet and we went through each screen, all at once, together. “You click this button and this box and then have your Chromebooks face me.” I am not a fan of this model, but we needed to get over the hurdle of setting up accounts and since there were a lot of fine details we had to do it the “blah” way. The positives: initial set up is once, kids turn to help each other, and all my kids created accounts in under 7 minutes.
- Change Usernames. If the kids sign up with their Google accounts, it applies some of their information to the username. I had my kids change their usernames to something a random string of letters and their class number, such as xyz15. With a free account, storyboards are shared publicly and when boards are shared publicly, usernames are displayed.
- Usage – Kids can create up to two storyboards a week with a free account.
- Compatibility – Storyboard That can be used on tablets.
