
Chromebooks are very little-friendly devices! When I was working with my TK class of 4 and 5 year olds, my principal let me borrow a small group set of the Chromebooks that were typically used for professional development. I currently work with kindergartners, and they are 1:1 with Chromebooks. I tend to start the year with working with a group of students at a time with the Chromebooks. Not before long all the kids are using their devices at the same time.
Before Setting up the Chromebooks
Know that your students are completely capable of being part of the set-up process for the Chromebooks (it’s actually easier if they are). On the SECOND day of school, my kindergartners logged themselves into their Chromebooks and set their profile picture. In that same week, my students joined my Google Classroom. I share more about that experience in this blog.
There are a few things you need to think about or take care of before having the students log into their devices for the first time..
- Be sure to have a list of your students’ school Google for Education email addresses and passwords. I suggest that you create login cards.
- Think of a workflow of how your students will walk to get their devices and login.
- Create a Google Classroom and write down your class code.
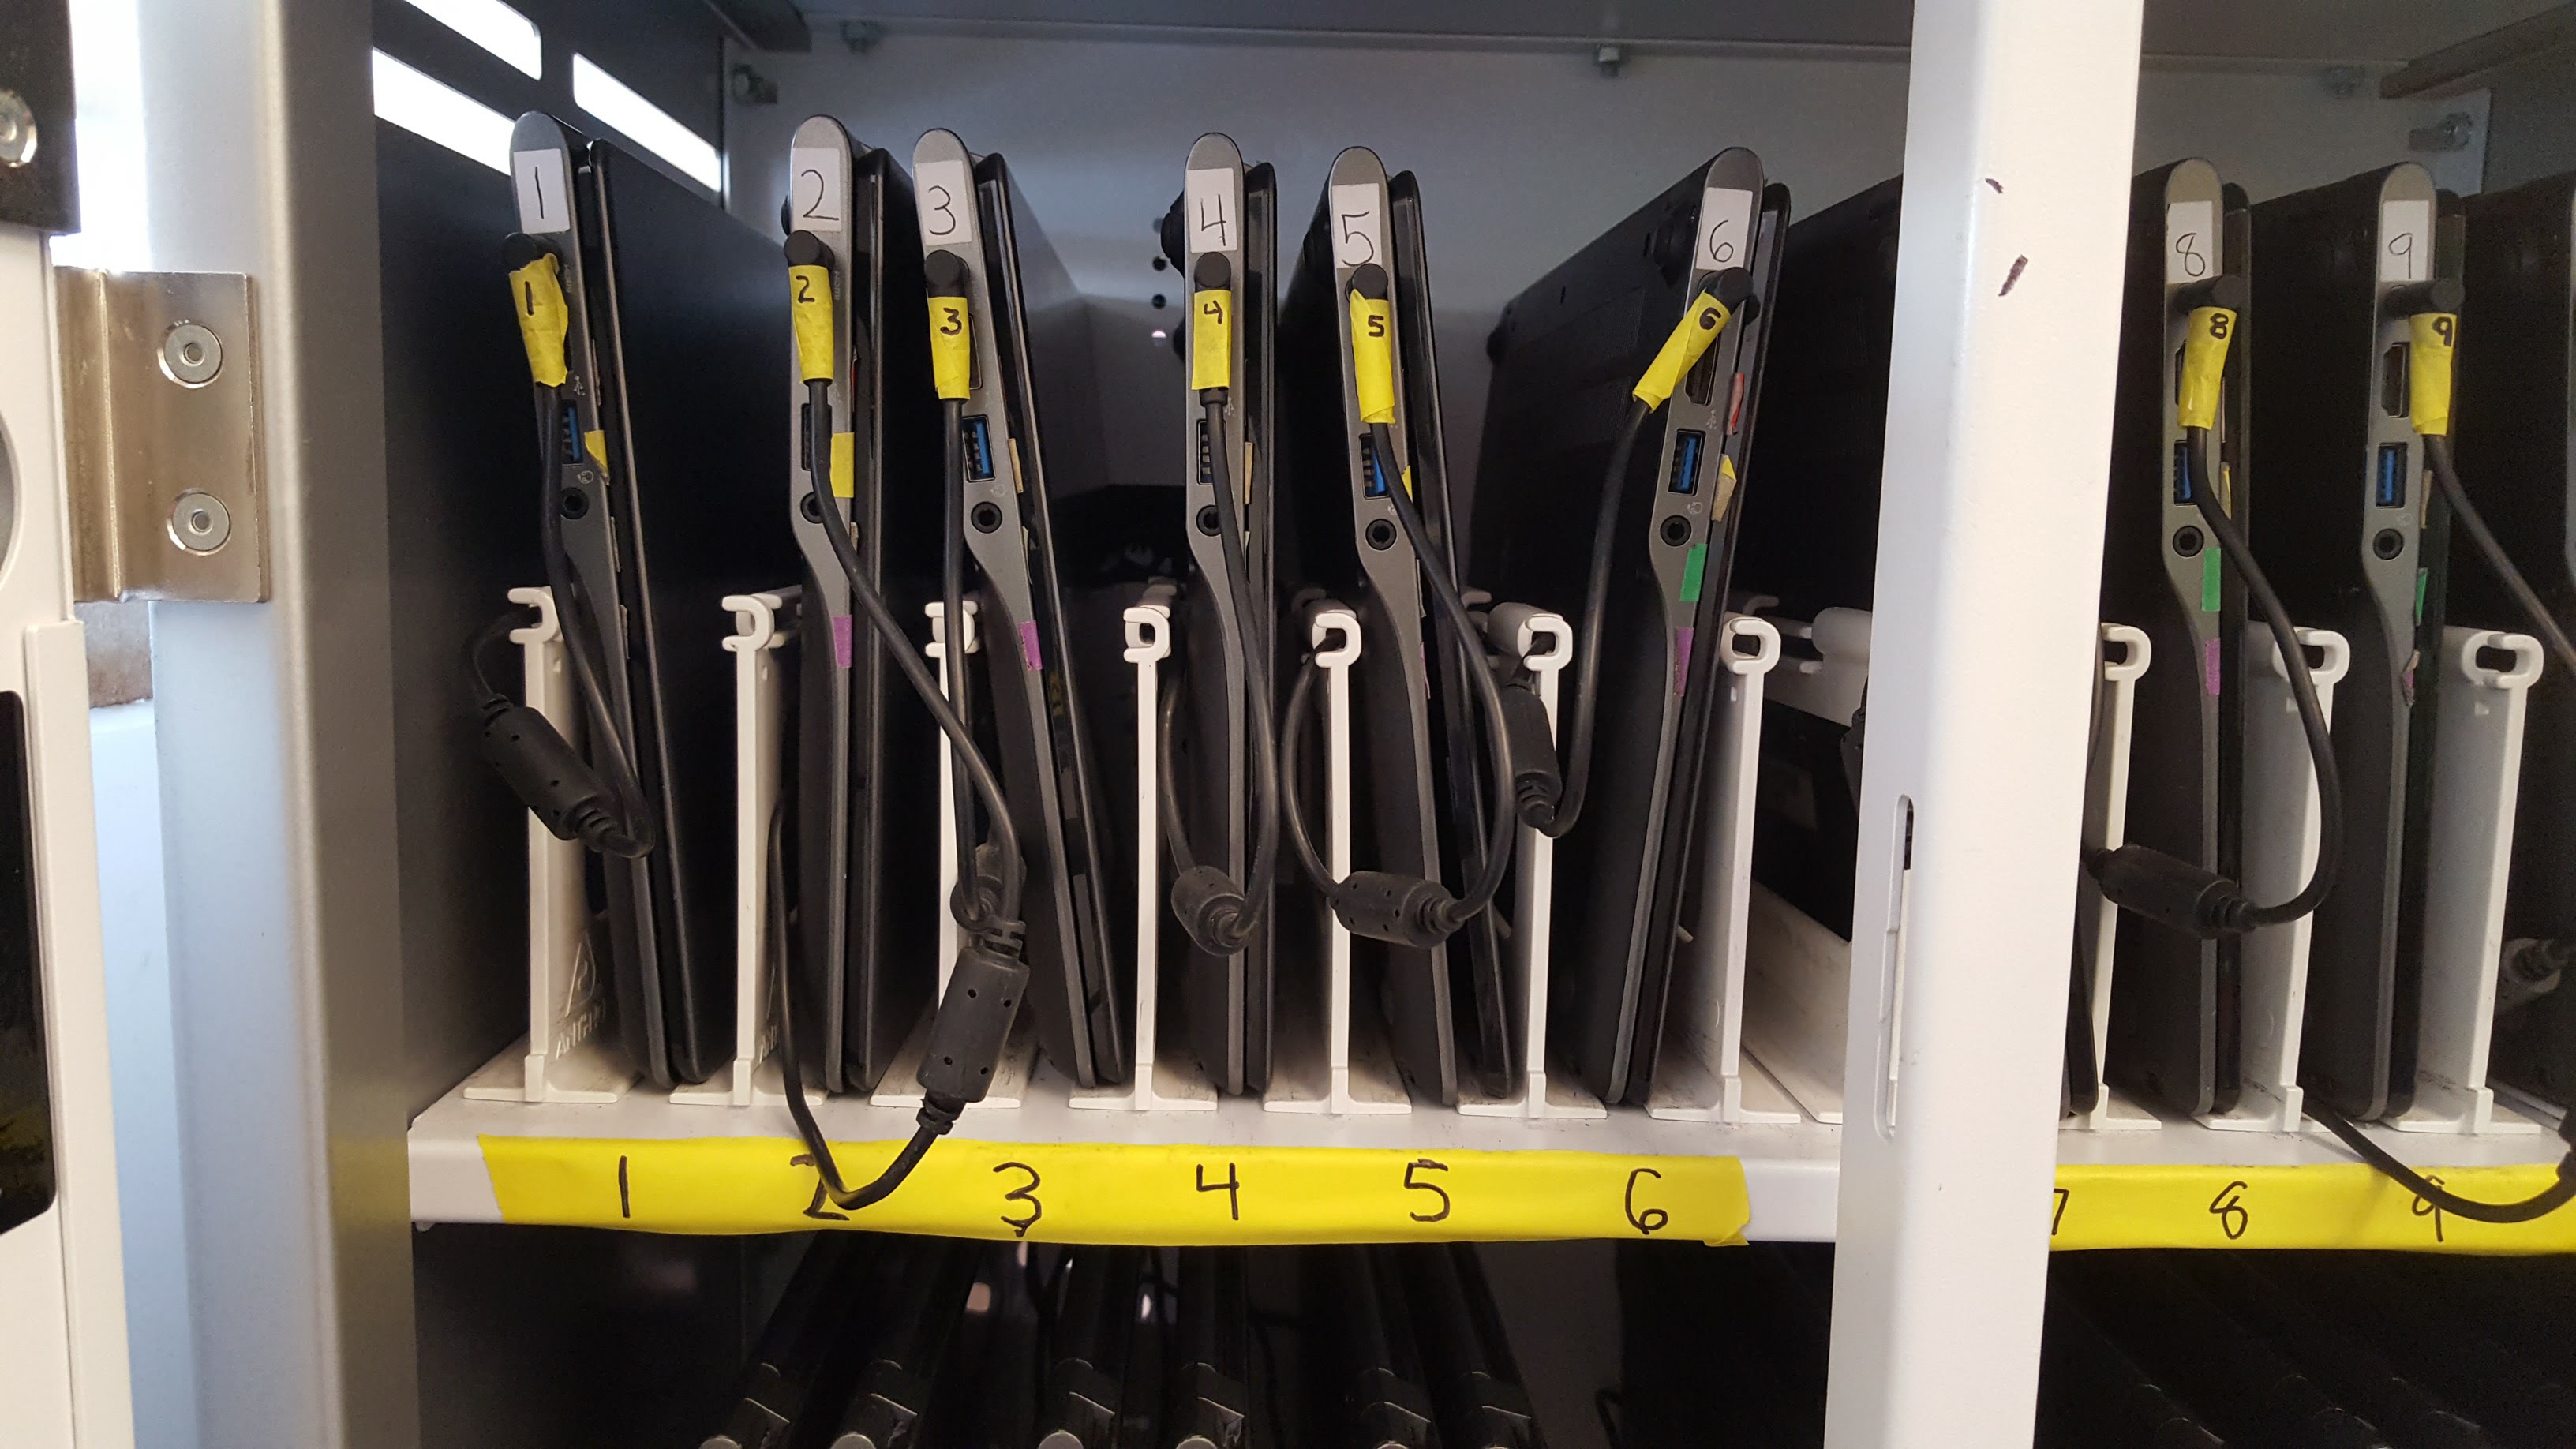
- Assign students to Chromebooks – Label each Chromebook with the name(s) of the student(s) who will go on that device. If you plan on using Chromebooks in small groups, like in rotating centers, remember not to assign students within the same rotation to the same device. Put a post it on the back of the Chromebook and list the students who will be using that device. If your students are 1:1, number off your students and let them know which number and device is theirs. I also suggest numbering the charging cords as well.
Chromebook Setup
1. Have Students Log Into Chromebooks
Depending on how the devices are set up by admin, there are two different ways this can look: the forget-user way and the + Add Person way.
Forget User
This version is set up so that each time a user signs out of the Chromebook, it forgets the username information. The domain (the stuff after the @ symbol) can be auto-filled, so that students only have to type what is before the @ symbol and their passwords. For example, if my account is: christine@school.net I only have to type christine because my the domain is remembered.
+Add Person
This version allows the Chromebook to remember the users that have signed into the Chromebook. This means that after the username has been typed in once, students will just need to locate their picture and type in their passwords. The kids can click + Add Person and type in their login information.
2. Profile Images
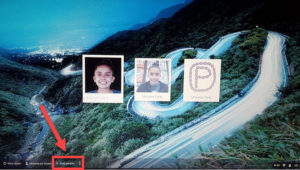
Students identify their accounts with ease when they recognize their faces. After the kids sign into the Chromebook for the first time, they will be prompted to select an icon or take their selfie with the camera icon.
3. Create Google Classroom shortcut:
Your admin can push out the Google Classroom app and have it appear in the “shelf” area of the Chromebook. This makes it easy for students to locate the Google Classroom icon, click on it, and get started with their work.

Should you have to manually add the Google Classroom app to the shelf area, go the chrome.google.com/webstore to obtain it. The video below tells you the steps that are necessary.
4. Have students join your Google Classroom
If this is the first time the student is using Google Classroom, be sure they select Student. Have them click on the “+“ for the student to Join class and enter your class code.