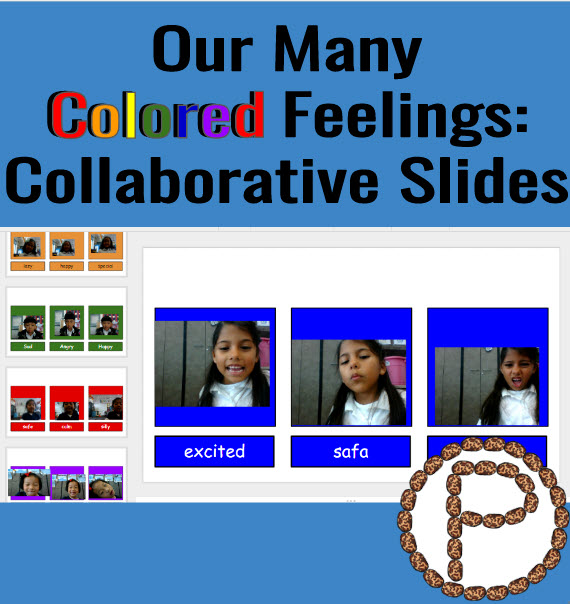
In honor of remembering Dr. Seuss on his birthday, we read his book My Many Colored Days. In a round about way, Dr. Seuss connects feelings to colored days in the story. I extended Dr. Seuss’ ideas a bit and introduced more feeling names to my Littles. The kids drew out what the facial expressions look like for some of the feelings. Then they had an opportunity to capture what their own facial expressions looked like for the feelings they selected by taking snapshots on Chromebooks and inserting them onto Google Slides. It was the kids’ first time creating collaborative slides!
Template: christinepinto.com/collaborativefeelings
Day 1: Drawing Feelings
Before we started centers, I read Dr. Seuss’ book, My Many Colored Days. During center rotations, I had an opportunity to talk with small groups of kids about some of the new feeling names on the poster I created. The task was to choose 3 feelings from the poster, draw out the facial expressions, and write down the names. The kids drew on black construction paper with pastels. The drawings were vibrant with the pastels on the black paper.
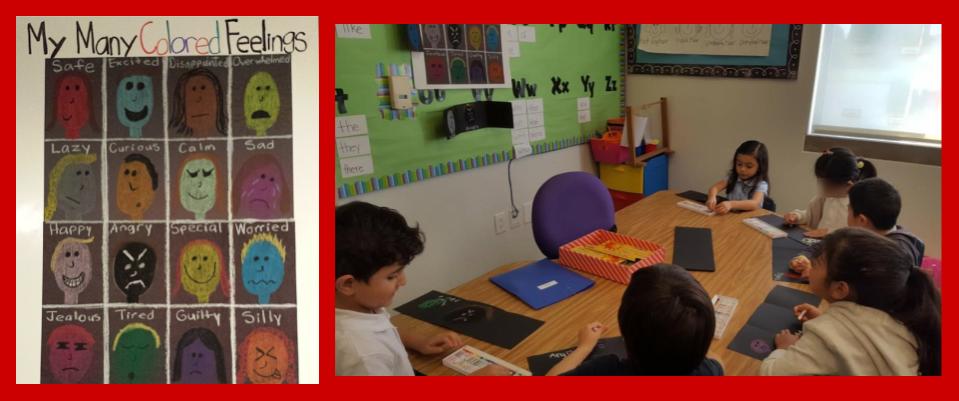
As the kids were drawing, I was asking them questions about the feelings they selected. What feeling are you drawing? When was a time you felt that way? Is that a comfortable or uncomfortable feeling? It is important for kids to be able to “name” their feelings, especially during reflection or for “self-talk” in an emotional moment. It is definitely a lot easier to talk about feelings when the kids are comfortable, versus when they are in a moment with an uncomfortable feeling.
Day 2 Collaborative Slides
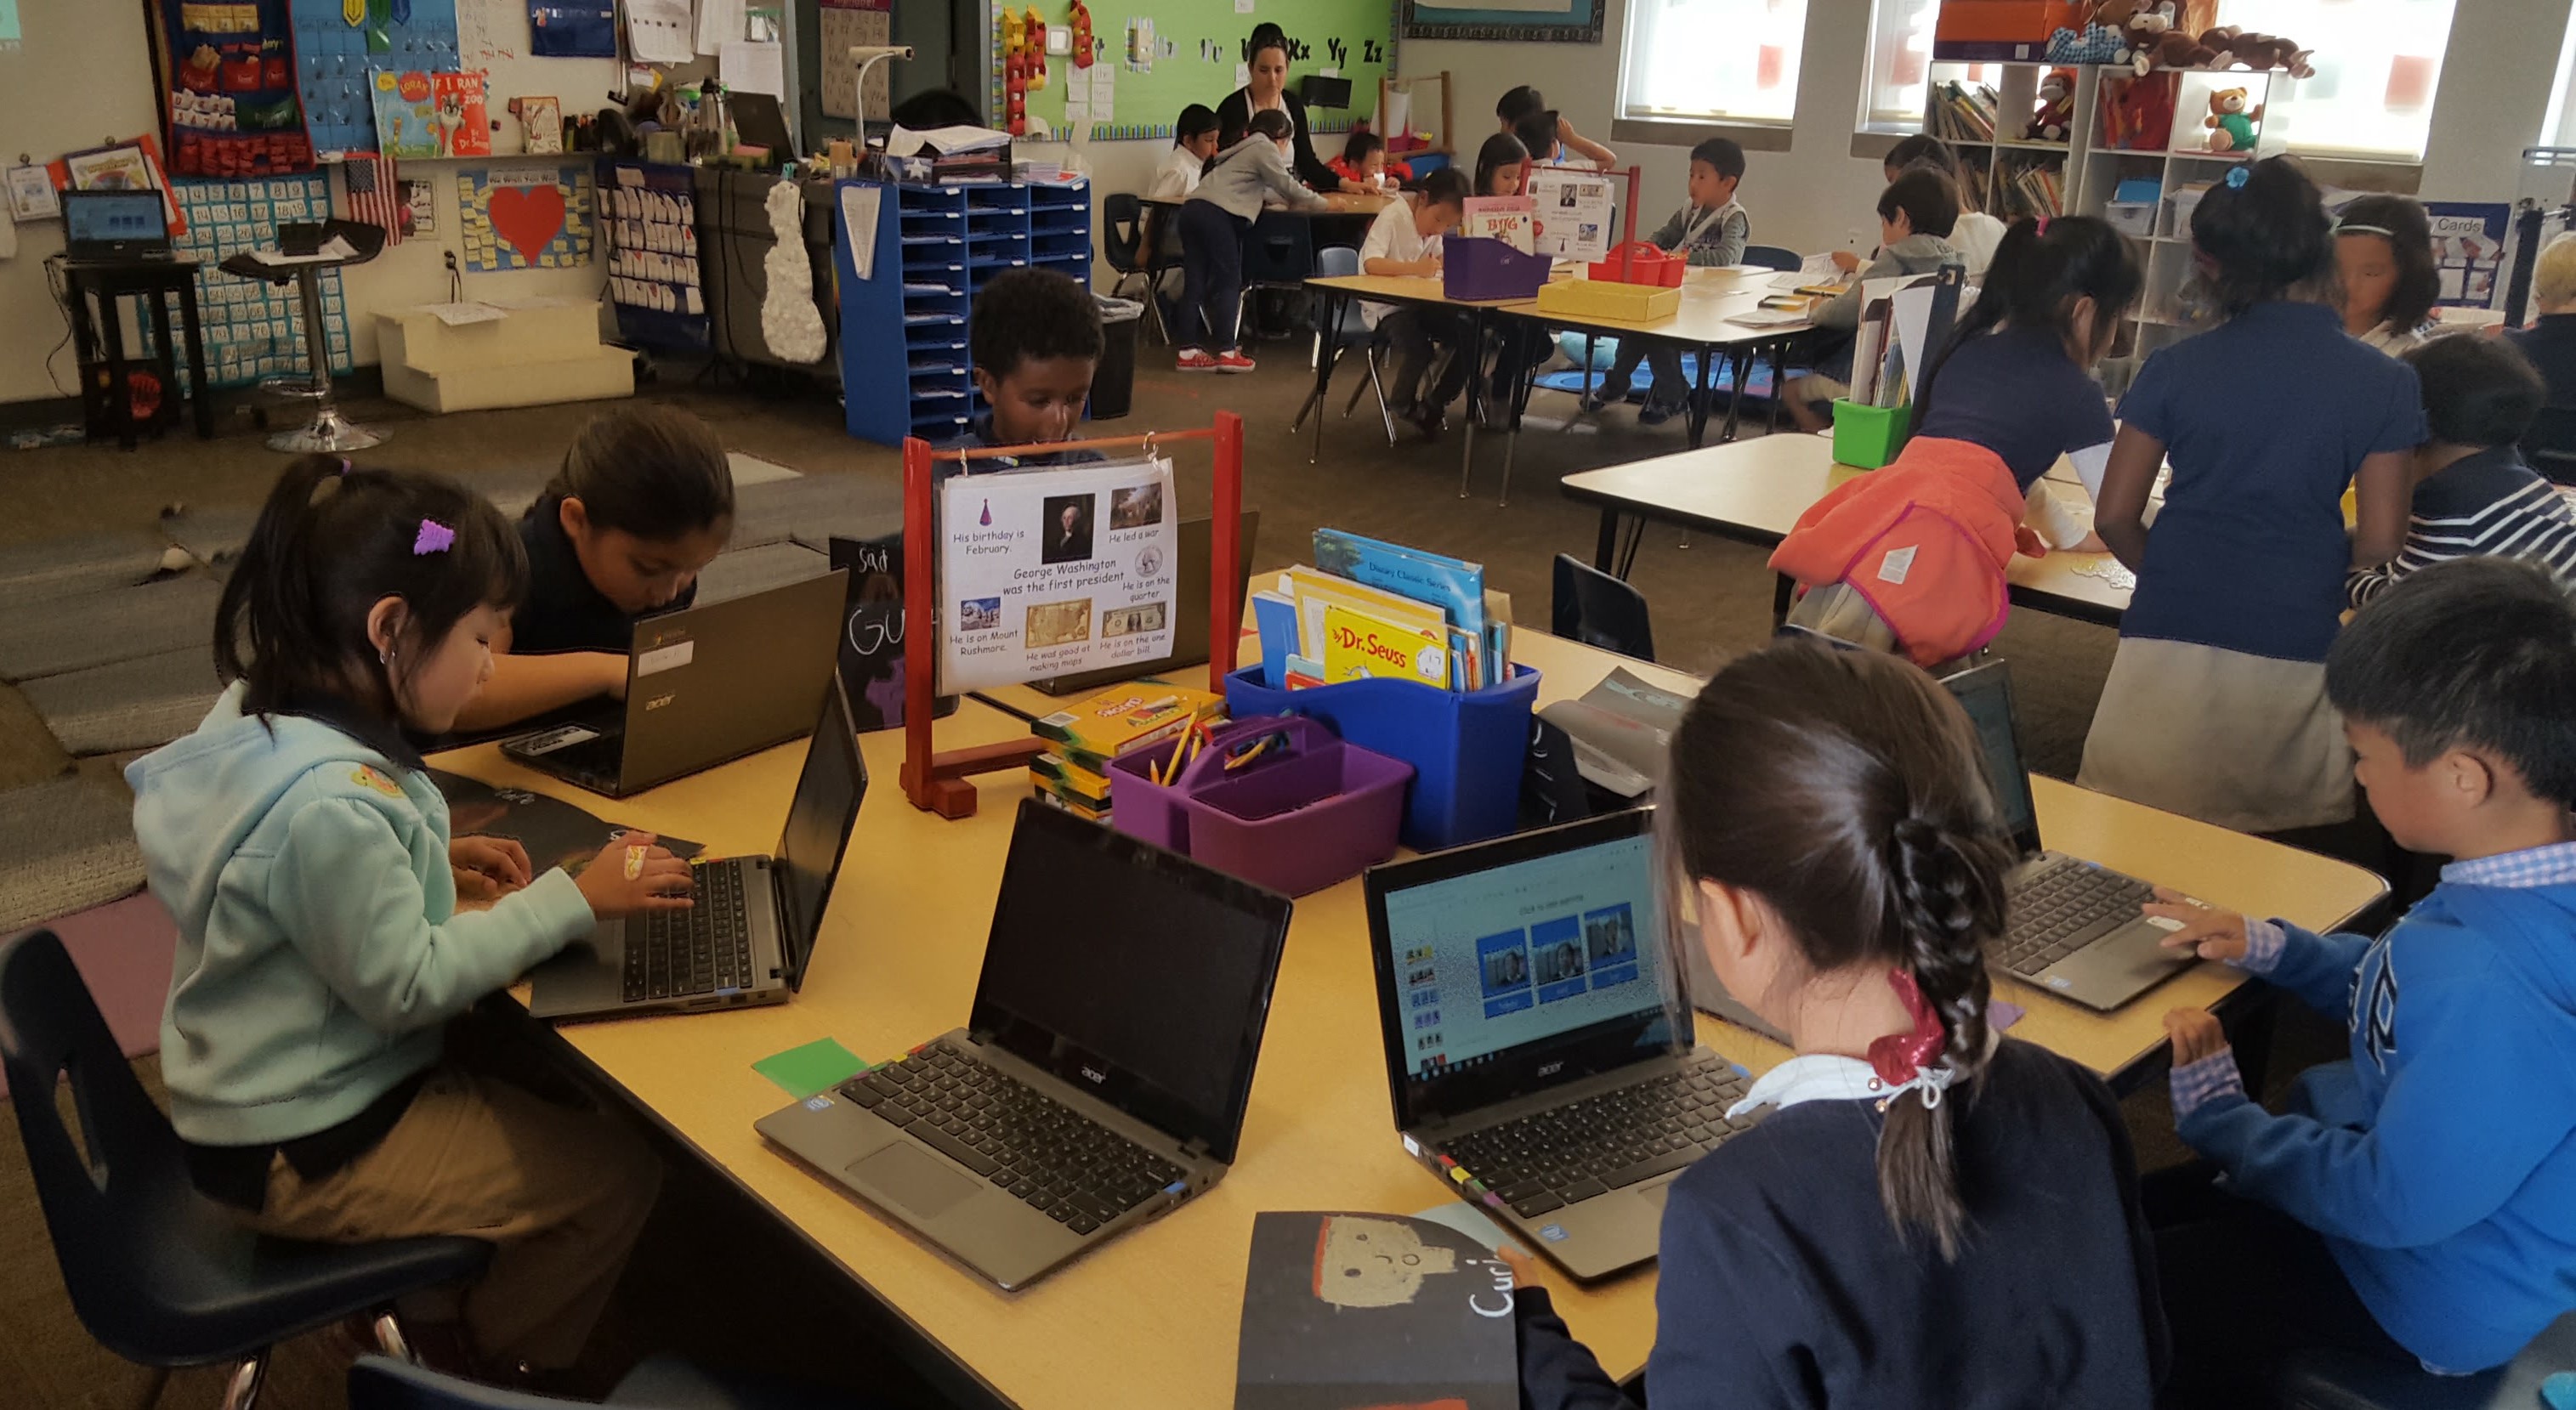
The next day during center rotations, the kids worked on collaborative slides! Collaborative slides means that multiple kids are editing the SAME DOCUMENT at the SAME TIME. Since it was their first time working collaboratively in the same slides, I decided small groups during centers was the way to go. I had the group on the Chromebooks, an adult volunteer played a game with another group, and three other centers worked on independent activities that could go about twenty minutes. When you plan with flexibility, things go A LOT smoother and you are not stressed. 🙂
Breakdown of the Activity
- We had gone over what the kids were going to do at the Chromebook center PRIOR to starting centers. So, when the kids sat down and signed into the Chromebooks they knew exactly what to do.
- After accessing the group slides from Google Classroom, the kids immediately inserted their own slide layout based on a colored piece of paper that was next to the Chromebook. Each kiddo in the group had a different color and was working on their own slides. The kids typed their names in a provided text placeholder. It was very easy for the kids to understand which work space was their own.
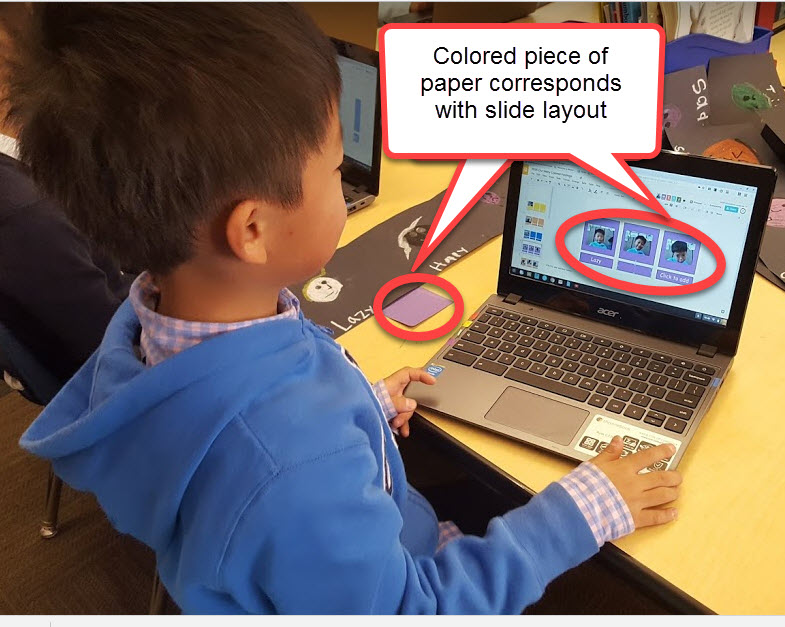
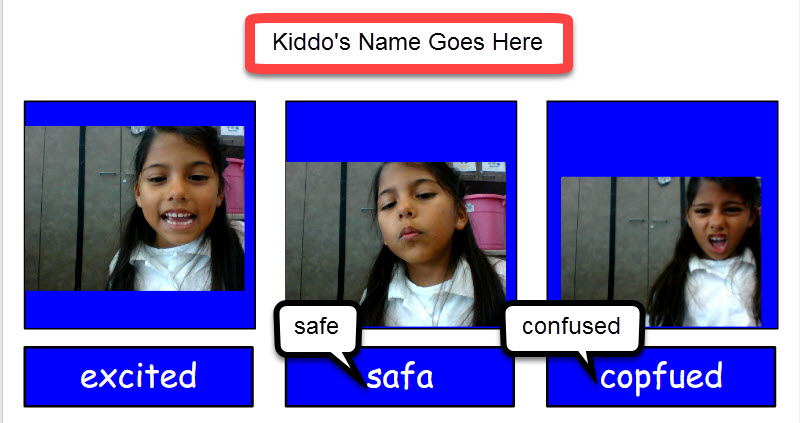
- The kids used their feeling drawings from the day before and had to take pictures of their own facial expressions to match the feelings. They had to resize the images to fit inside the colored boxes. The kids needed to give each image a caption by typing the name of the feeling underneath it.
Observations
The kids enjoyed the two-day activity. They were able to make choices and use different types of medium to visually express their understanding of feelings. Feelings are very different from each other, and they “look” different as well. That is something I wanted my kids to “pick up on” from the lesson. My students who are sometimes challenged with identifying their own feelings or the feelings of others really benefited from the activity, and my English Language Learners as well.
Insight
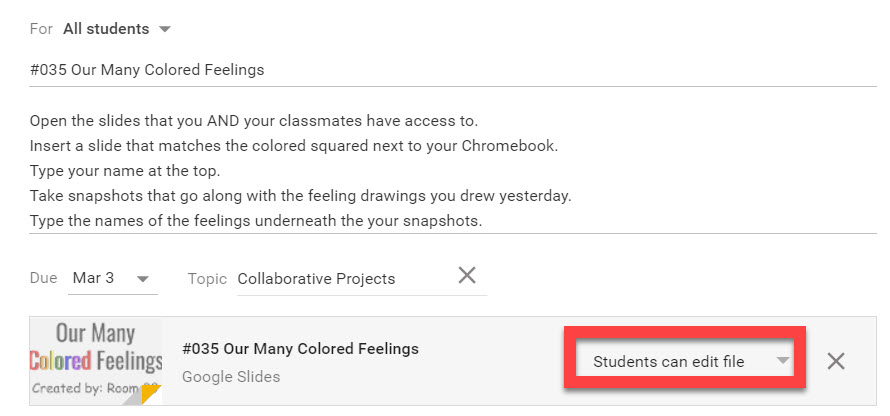
- Assigning on Google Classroom – Be sure when pushing out the Google Slides to the kids, that you assign as “students can edit file”
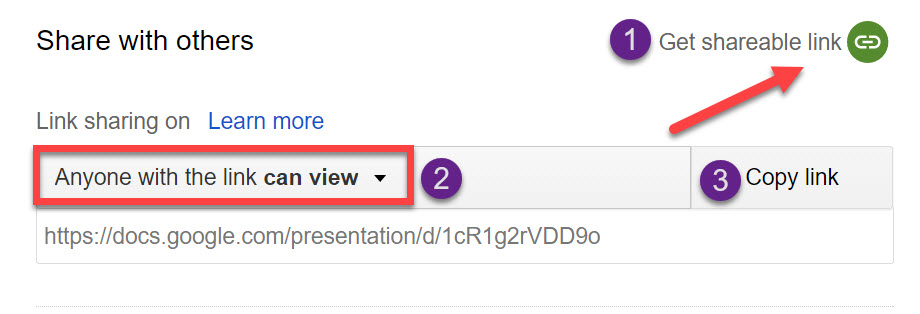
- Share with families – Digital collaborative projects make it easy to share with students’ families. While in the group slides, click on the blue share button. Get the shareable link by clicking on the gray chain so it turns green. Make sure the viewing rights are “Anyone with the link can view.” Copy the link and send it to parents in an email!
