Towards the end of the school year, it is a common time to do some deeper reflecting on the learning that took place and reminisce about the memories that were made. One project I wanted to get my kiddos going on were memory slides. Thinking back to last year, my transitional kindergartners (4 and 5 year-olds) worked on All About Me slides (read this blog post for more on that). Those slides were a cross between touching on skills they had practiced, while capturing moments in their learning environment. My group of kids last year was quite different from this years group in many ways, and I decided I wanted to try a new activity with this year’s crew. My kids are showcasing all their digital work on a Google Site, so the display of various skills practiced could be on there. So, that left me with the memories piece, which I decided that it was going to be it’s own “thing.”
The Project
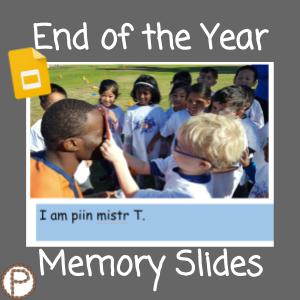
In the Memory Slides Project, my kids are selecting pictures (a combination of ones I have taken and ones they have) to include in their Slides. They caption the picture by typing one sentence as best as they can. Essentially, they are creating their own photo album of the year. 🙂
I see a lot of value in this activity. In terms of academic skills, the kids are practicing to spell phonetically (writing a word how it sounds), creating a sentence that matches the picture, and “writing”/publishing on the computer. The kids know that when physically writing, they need to leave a finger space between words and include a period at the end of the sentence. So what does that look like on the computer? This activity (along with others that the kids have done) helps the kids apply what they know to another learning platform – technology. By observing my kids, I have noticed some have been making more of an effort to capitalize the beginning of their sentences (no joke they say “shift” when they are typing) and including a period than in their physical writing. There is a good mix of academic goals and digital literacy in this activity. Not to mention, the kids have a pretty neat keepsake that was made by them! I
Sharing the Pictures with the Kids
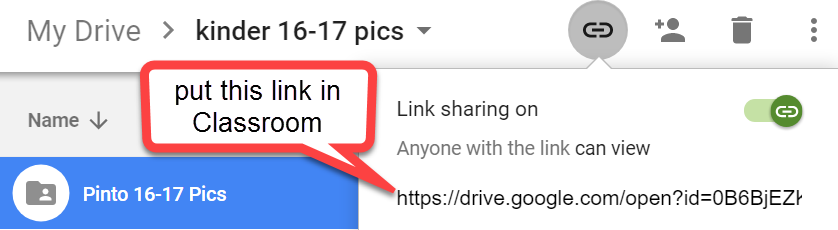
I took a lot of pictures this year. My kids also snapped a lot of photos this year. (Two people get to be the photographer a week with my old digital camera, and they get to take pictures of things that are “cool” to them.) All the pictures on my phone get automatically uploaded to Google Photos on my Google account. From Google Photos, I selected the pictures I wanted (a ton), downloaded to my laptop, and uploaded the folder into Google Drive. (Would love to know of a more efficient way of doing this). In the end, I have a link to a folder that I can share with my kids via Google Classroom.
I couldn’t figure out how I wanted the kids to actually do the activity. I wondered what’s the best way for them to select their photos?
-
Choice A – Having 150 pictures on slides and deleting the ones you don’t want.
I had Alice Keeler and Matt Miller’s DriveSlides extension in mind. That extension will take up to 50 pictures from a folder, and automatically put them onto their own individual slides in a new Google Slides presentation. This is fantastic, because putting pictures onto slides can take forever. Since I had more than 50 pictures, this meant I had to create sub folders of 50 images and run the extension multiple times, and copy and paste the slides from multiple presentations into one. I went into the View Master, and inserted a blue subtitle place holder, so it would appear on all the slides and the kids can type their sentences.
-
Choice B – Insert the pictures you want onto the slides.
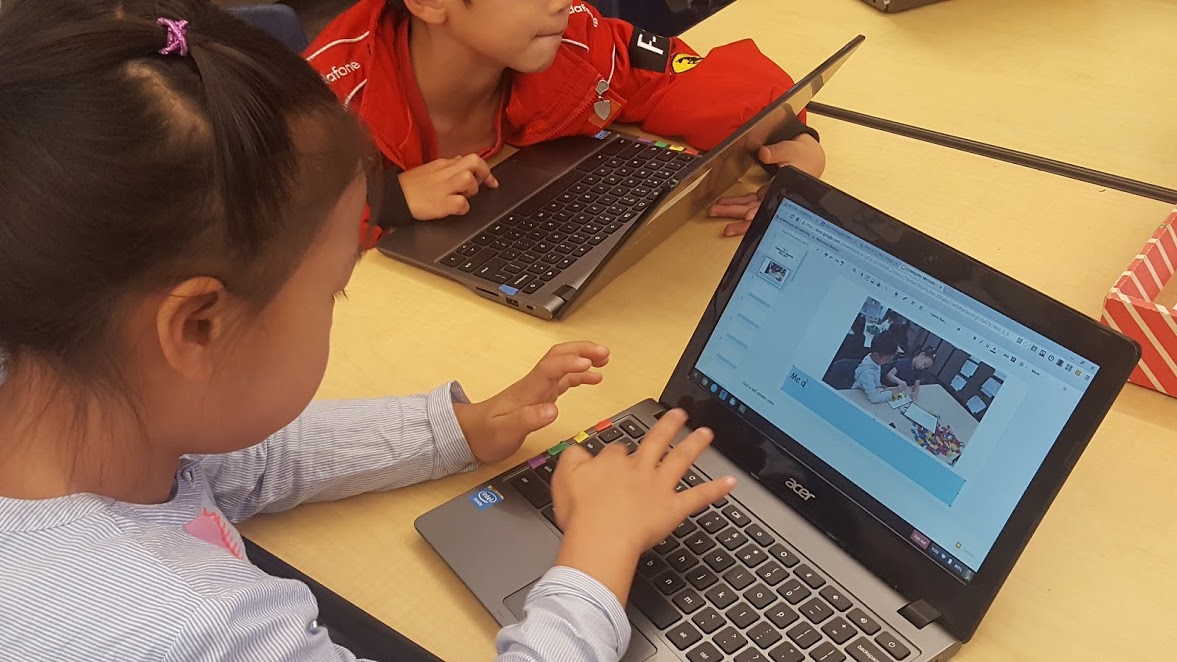
Initially the kids follow a sequence: inserting an image, selecting Google Drive, Shared with Me, double click on folder, insert picture. After doing that once, it eliminates the steps of having to select Google Drive and Shared with me (it remembers the folder the kids were inserting the images from).
Since I truly couldn’t decide which way is better, I gave the kids the choice. I had a student demo both options, and let the kids decide which method works for them. More than half my class chose Choice B, to insert the pictures themselves.
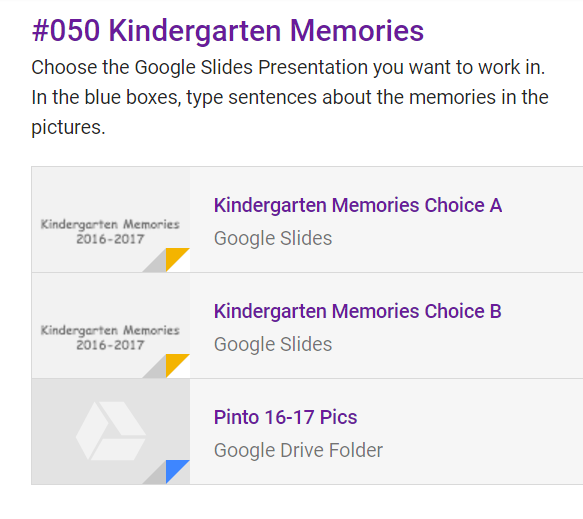
Info for Google Classroom
I included the two Google Slides templates into the assignment. I clicked on the link icon and pasted the link to the Drive Folder that had the images in it. This automatically shares the folder with the kids in Google Classroom. The kids need to click on the folder BEFORE trying to access the photos when working in Google Slides.